Define users
On the Define Users page, the application administrator can define the profile settings of users after they have been added to Intercompany Management through User Management page in the Portal.
Add a user
Users of Intercompany Management are added in the Portal through the User Management page after which they are then, assigned the Intercompany Management application.
-
To access the User Management page, click
 .
.
-
For details on creating users and assigning the Intercompany Management application to them, refer to Manage users in the Portal.
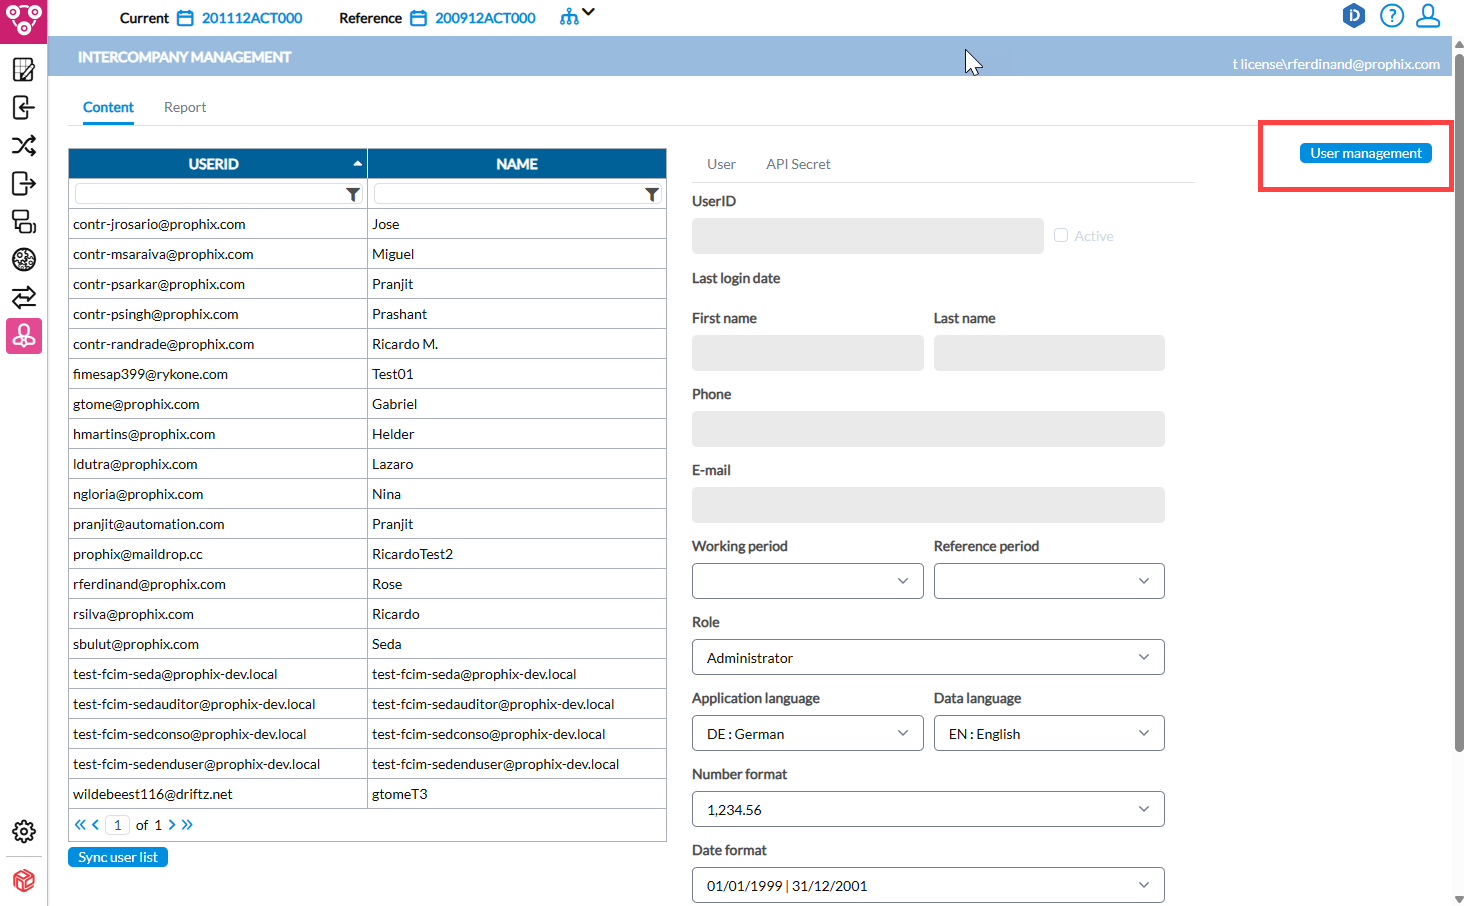
Define user settings
After users have been created in the Portal using the User Management page, the administrator can use the Define Users page to define the user settings.
To access the Define Users page, click ![]() Administration > Define Users.
Administration > Define Users.
On the Content tab, an administrator can predefine the settings for each user which in turn, determines how the application presents to the user.
After a user is linked to Intercompany Management do the following to define the user settings:
-
In the table, select the user whose settings you want to define.
-
Set the user’s Working and Reference periods. The selected periods will be the user’s default periods. A user can change these default settings in their User Settings
-
In the Role field, select the user’s role. The assigned role determines the menus and pages to which the user has access. A role describes the user’s function and limits users to certain pages in the application. Default user roles are defined on the Role Security page. In addition, as an administrator, you can restrict a user’s access to pages and menus. A user cannot change their own role in their User Profile.
-
Set the user’s Application and Data languages from their respective drop-down fields. Your selection dictates the language in which the application presents text, error messages, reports, etc to the user. A user can change these default settings in their User Profile.
-
Next, set the Number, Date, and Time formats. These settings affect how time and date formats are displayed, and how to display decimals and separators in amounts. A user can change these default settings in their User Profile.
Sync user list
To pull the latest user information from the Portal, click 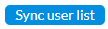 .
.
Edit user settings with an invalid license
You can edit any user on this page even when the application license is invalid. This is to allow you time to fix licensing problems and reassign roles to comply with license limits.
Note: All other pages remain read-only until the license is valid.
API secrets
In the Portal, Multi-Factor Authentication (MFA) is required to enhance security. Because MFA prevents direct authentication via username and password for web services (such as OData), administrators can generate API Secrets, special keys, that let users connect to these services safely and automatically.
This section explains how to add, edit, and delete API secrets.
Add API secret
-
Select the user for whom you want to create an API key.
-
Click the API Secrets tab.
-
Click
 .
. -
Provide the required Details: Description and Expiration date, and then activate the API key.
-
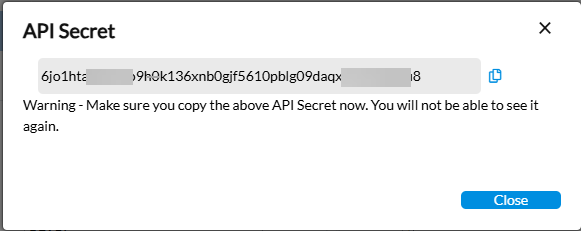
Save the API key. The generated key is displayed only once. Copy it now as you will not be able to retrieve it after closing the dialog.

-
Share the generated API key with the user.
Note: API keys have an expiration date. Once expired, a new key must be generated to maintain access. See Regenerate API Key.
Regenerate API key
Regenerating an API key is typically done in the following circumstances:
-
When the current key has expired (it’s valid for up to one year)
-
When there is s a concern that the key may have been compromised and is being used by an unauthorized party and needs to be revoked.
-
Click on the user’s User ID. The API key details are displayed in the API Secrets tab.
-
Click
 in the row of the key you want to regenerate.
 -
Confirm your action.
Deactivate API key
-
Click on the user’s User ID. The API key details are displayed in the API Secrets tab.
-
Click
 in the row of the key you want to deactivate.
 -
In the Edit API dialog, click
 to remove the check mark and deactivate the key.
 -
Confirm your action.
Delete API key
-
Click on the user’s User ID. The API key details are displayed in the API Secrets tab.
-
Click
 in the row of the key you want to delete.
 -
Confirm your action.